a blog by Peter Leonard


Today's activity in the workshop consists mainly of piecing together the framework which holds all the various keys in place and in the right position. We need to form this frame out of a series of thin strips, since the keys themselves are too large to fully slide in. We'll build up a series of layers, like a cake, and insert keys at each stage. Here goes the first one:

Now we've got a second layer on top of that. Notice what the three pieces of wood are sitting on top of? It's soft leather, with an adhesive background:

Now we need to trim this leather very precisely:
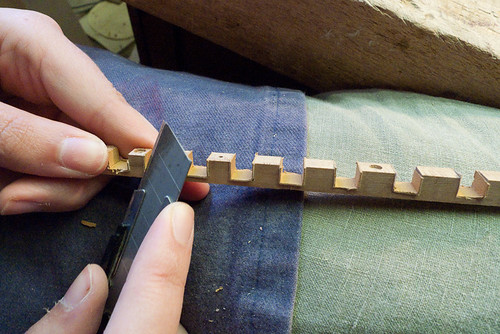
Here's what the leather surface looks like after we've trimmed off the edges neatly and folded the flaps in:

The leather performs a very important function: stopping the individual keys from rattling around and creating unwanted noise, even when the instrument is played with a lot of energy. Now, to place the bottom layer of the keyboard frame onto the body itself:

Looks good!

Time for a test fitting of the keys! These haven't been chamfered, sanded or stained yet:

Those poles sticking up from the keys are called leaves, and are what actually make contact against the strings when a key is pressed. They would be a real headache to cut and shape one by one. Luckily, computer-controlled machinery can help us out by routing out a whole bunch at once:

Time for a test fitting of the next row of keys:

Looks like everything is fitting together well!
