a blog by Peter Leonard


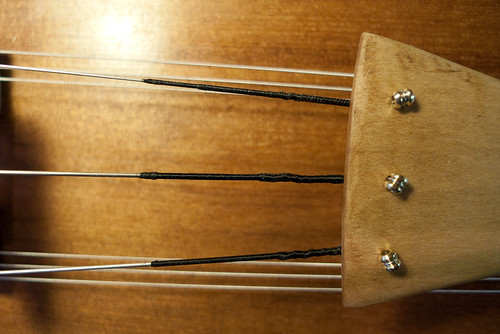
On a stringed instrument, the tailpiece is what provides a solid anchor for the various strings, which are held at high tension. For acoustic reasons, it's important that the tailpiece be anchored to the bottom of the instrument without any kind of glue or permanent attachment. So the piece we'll be carving today will latch on to the bottom of the nyckelharpa and stay there because of the pressure of the stings themselves. The other end, where the three strings attach, splays out into a wider end to hold each of the strings separate. We'll start by forming that wider end:

This mainly involves a whole lot of rasping and filing, to smooth the wood into shape.

A turn on the rotating sander helps us form the decorative end that clamps onto the body:

Next we'll drill a hole for a leather strap to connect the tailpiece to the body, in case it ever comes loose.

Here's the tail of the instrument itself, where we'll be hooking the tailpiece:

We need to shape this so that it has a place for the tailpiece to hang on. We'll use a special Japanese saw:


... and now we have the special cranny, reinforced with a piece of wood over the face that takes the most pressure. We'll set the tailpiece aside for now, until we're done staining and waxing the body itself.